

From the windows to the Gallery Walls…
When it comes to gallery walls, or any design for that matter, the most important thing is to go with what you love. You really can’t go wrong there. Design and art is really an expression of who we are. Don’t let anyone tell you that you’re doing it wrong. If it makes you happy…success!
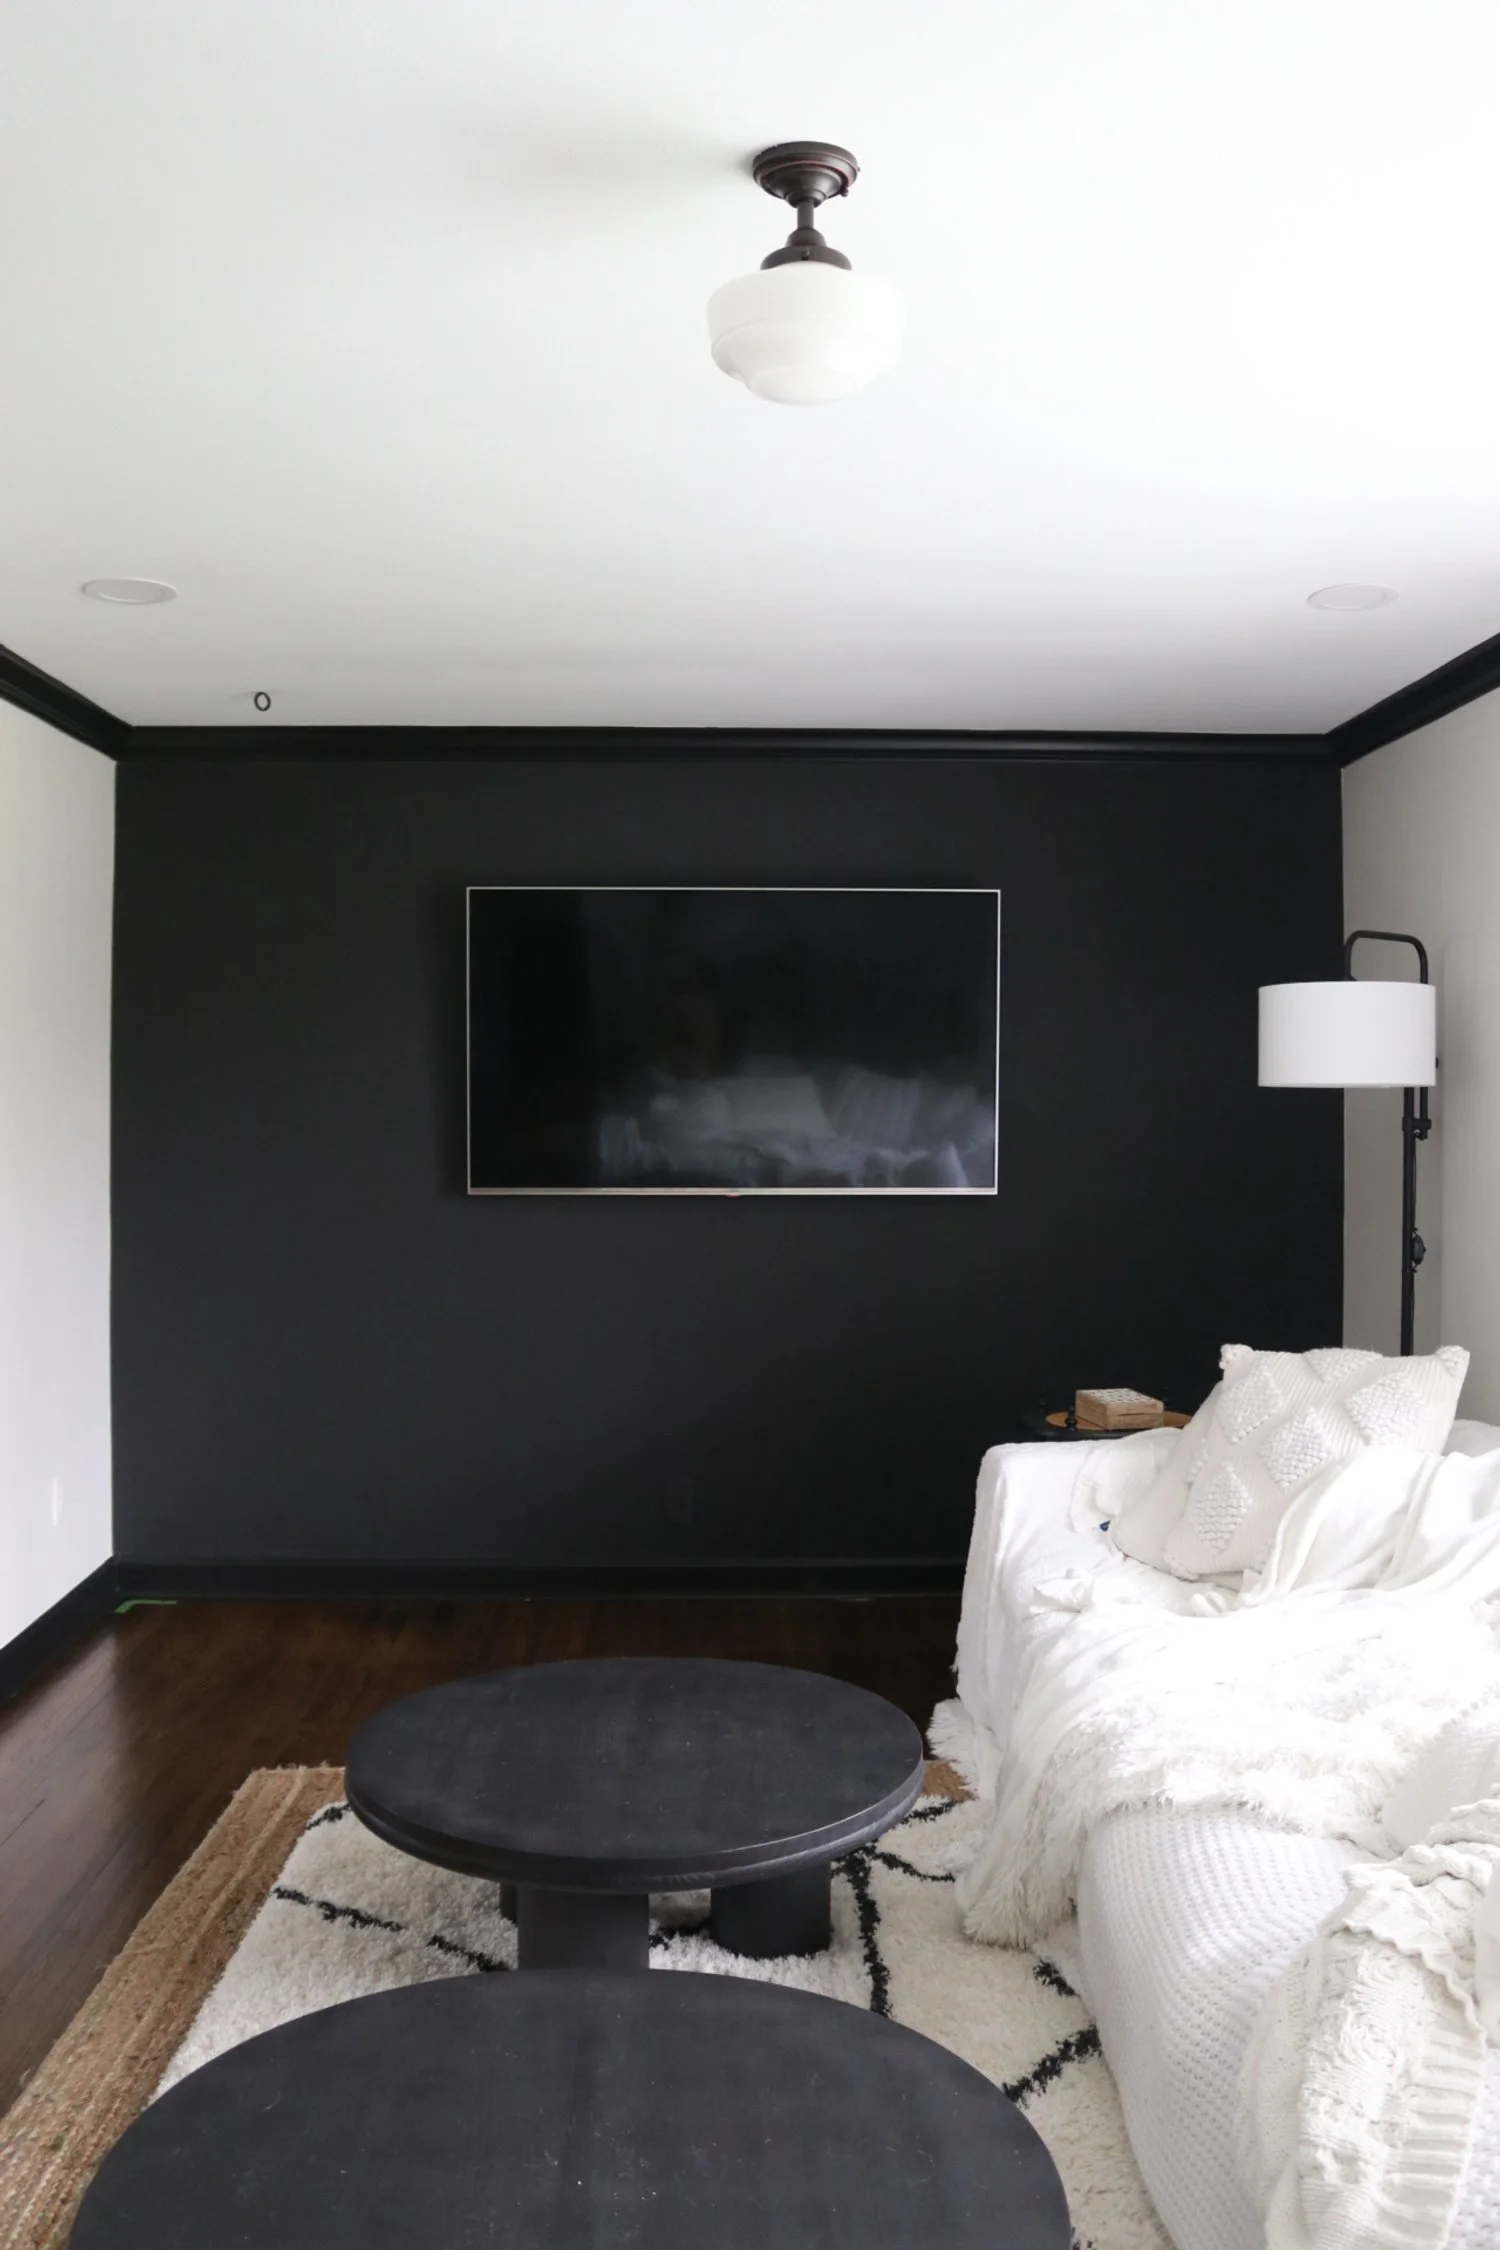
We had a gallery wall in our Master Bathroom at our old house which was kind of a shame because people rarely got to see it unless we drug them up to our toilet throne. We are really excited that this gallery wall has a new home in our new home. Now these special photos are proudly on display for all to see in the central most part of our cozy little cottage.
Gallery walls can be a grouping of elements or if you’re like us, it can take up the whole dang wall. We are firm believers in go big or go home, so here we are. We want to share a couple of tips that have helped us execute successful gallery walls over the years.
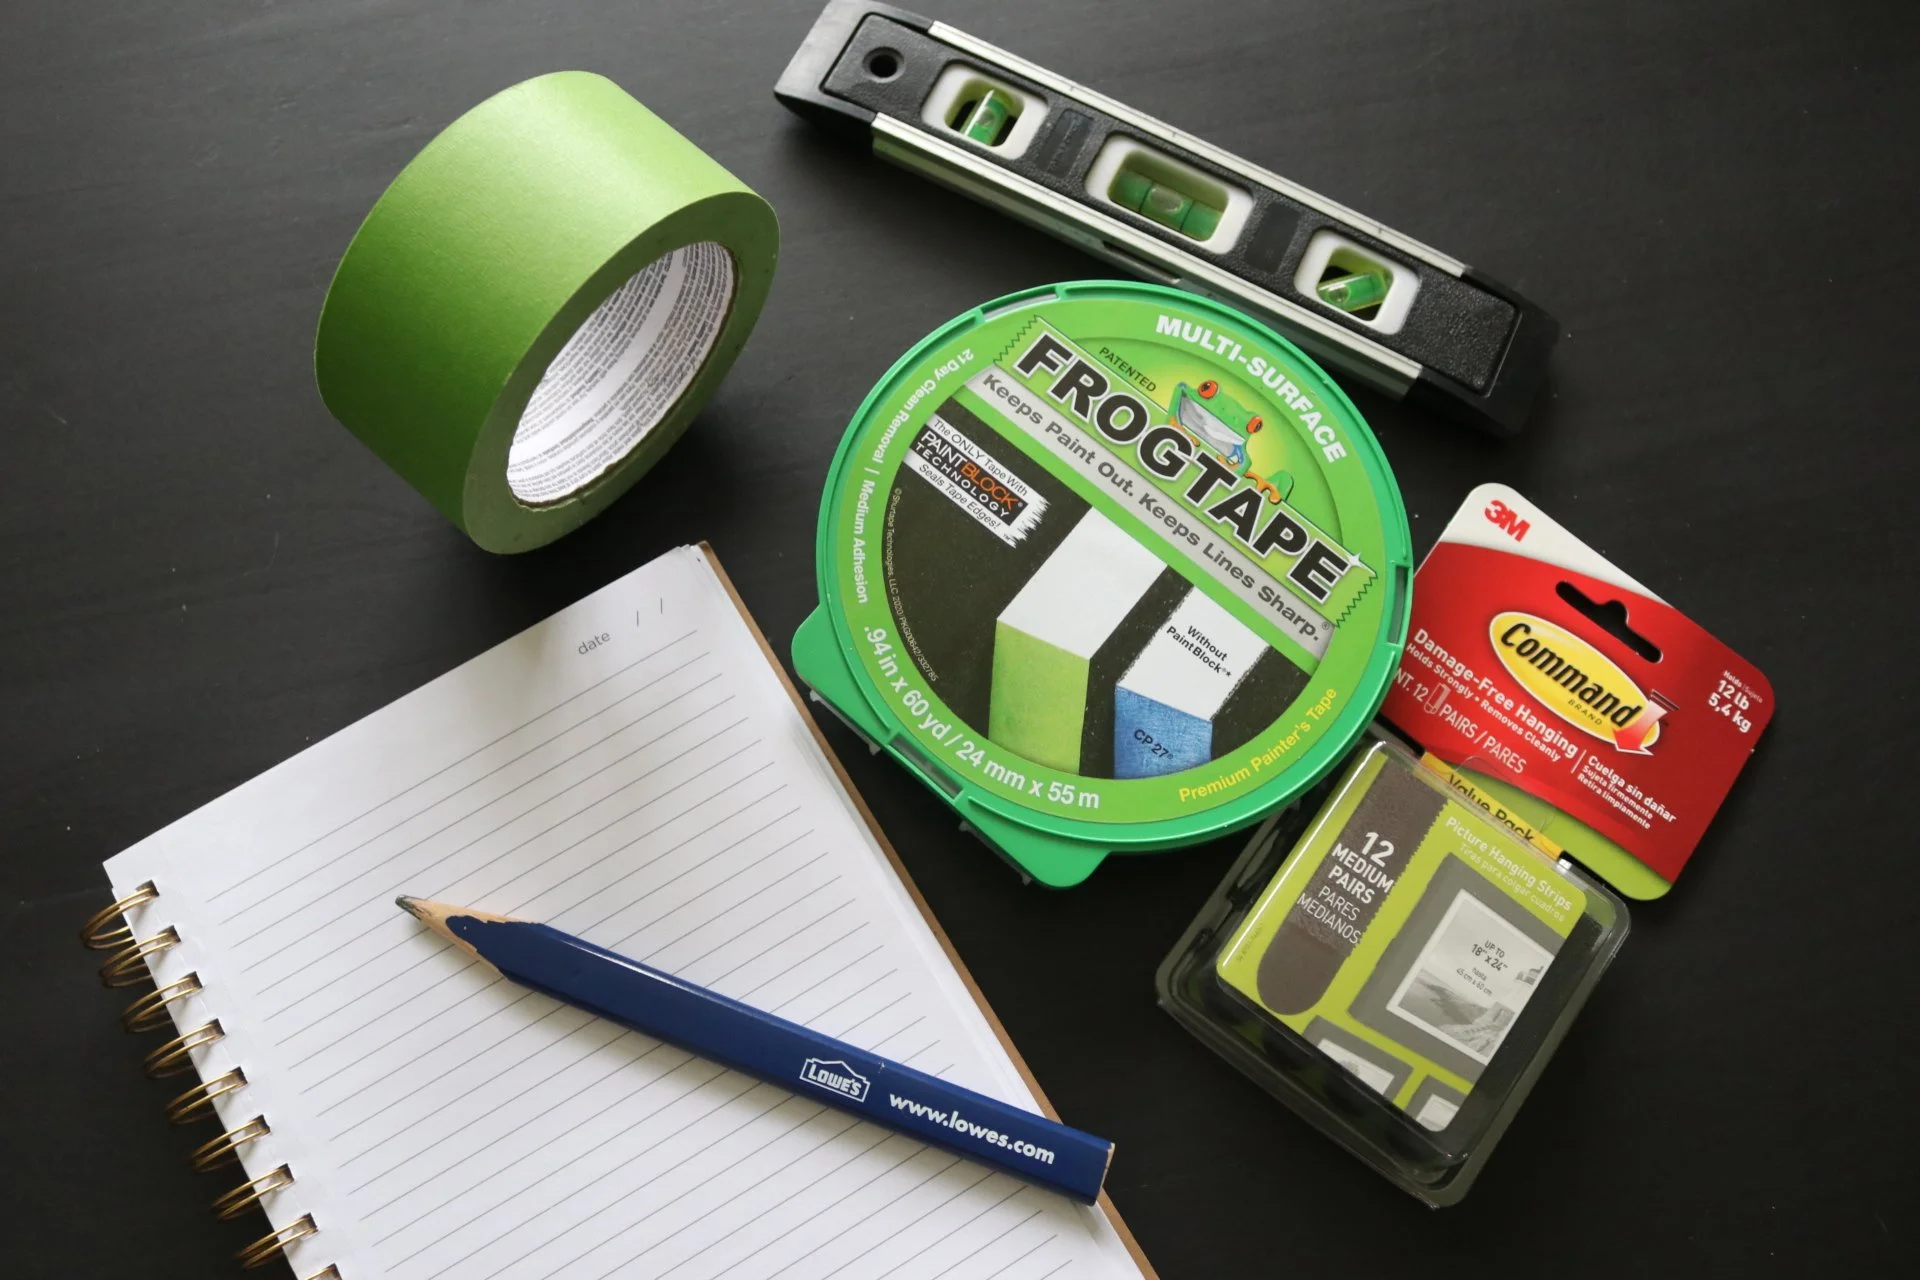
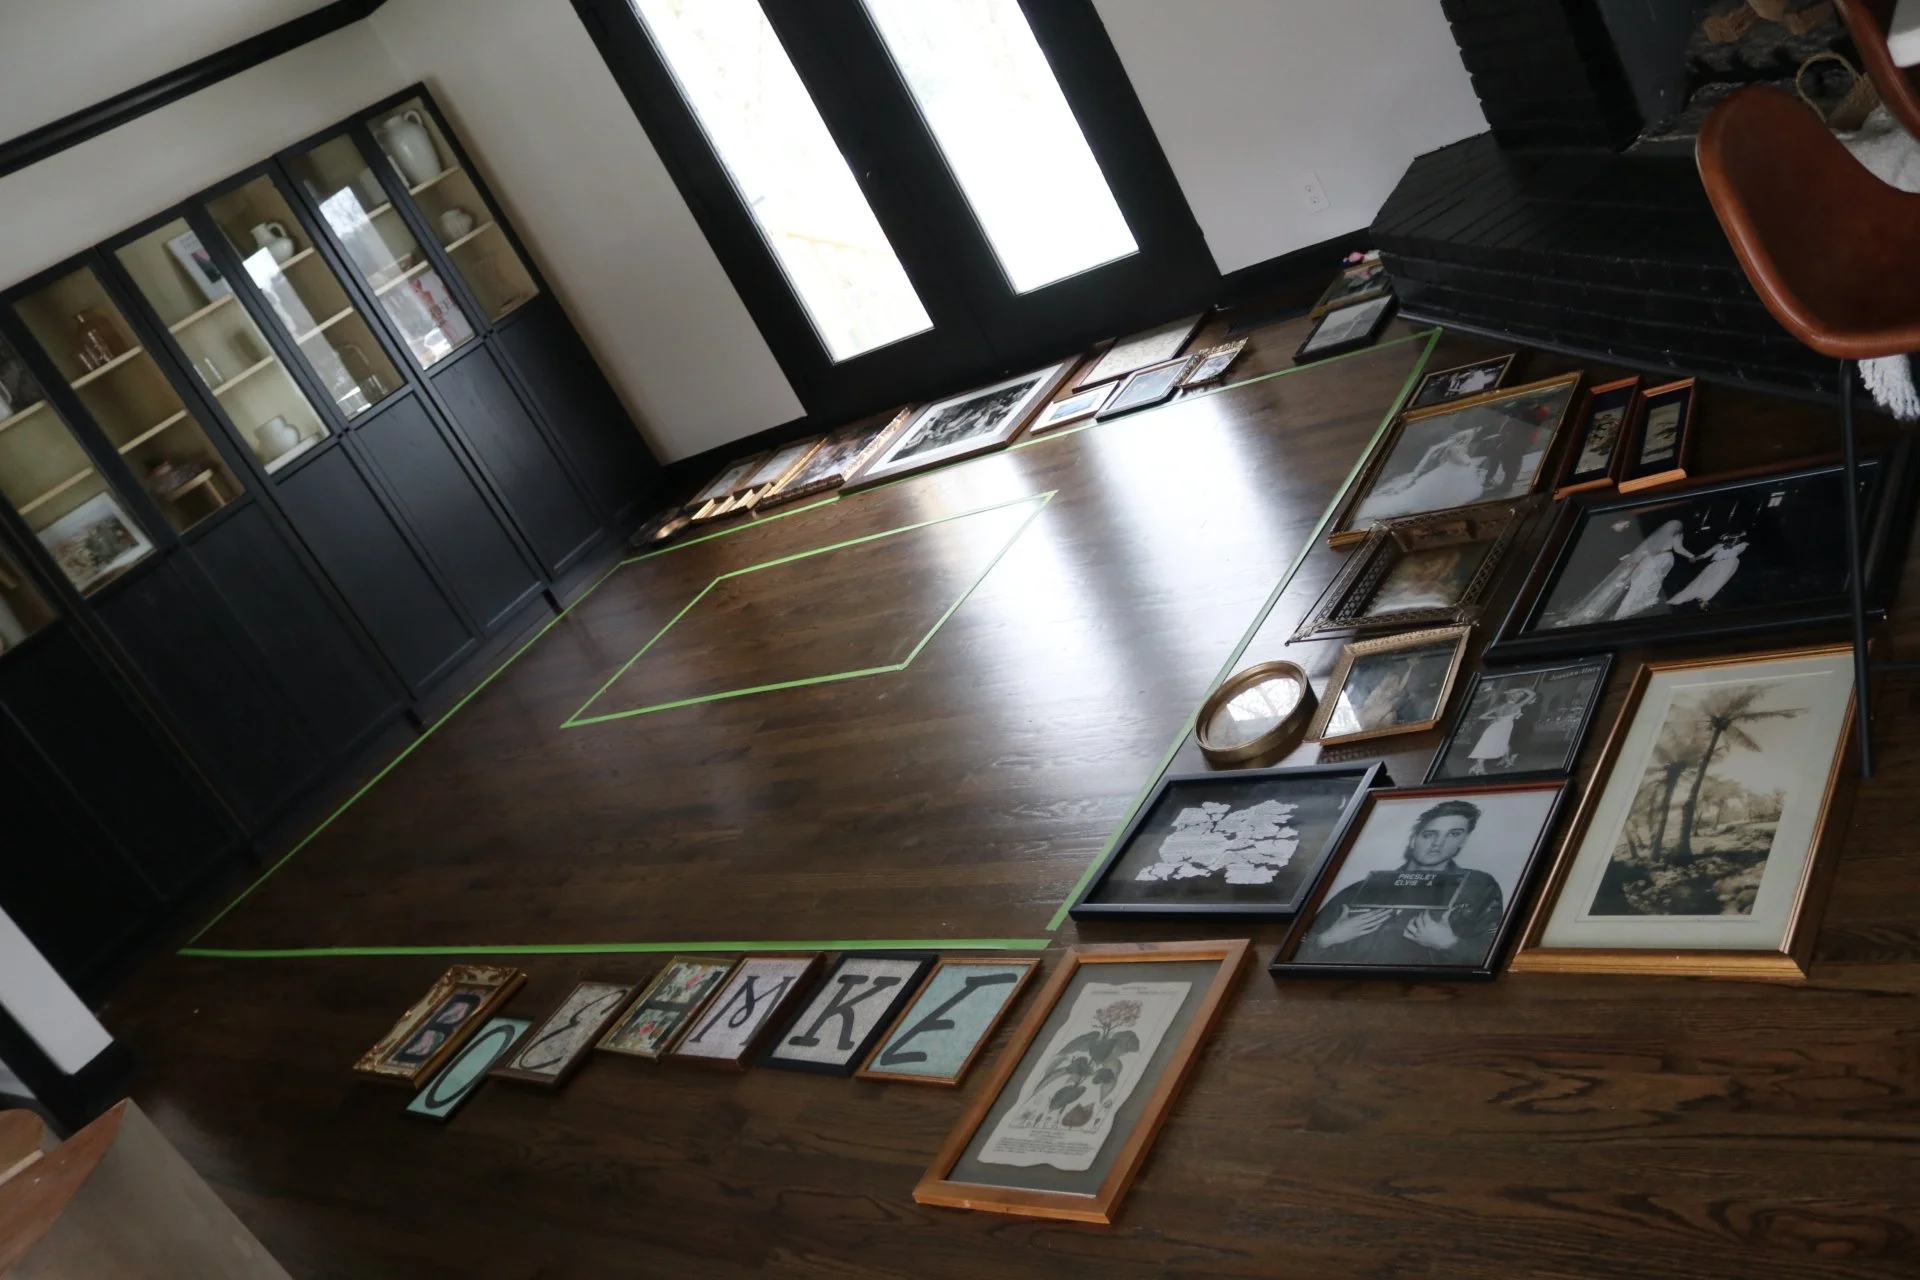
Whether you are doing a full wall or just a portion of a wall. We recommend start by measuring out the area of the space where your artwork will go. We then use painters tape to map out a replica of the area on the floor. This way you can experiment with the artwork and try different spacing and arrangements. Make sure you lay out all available artwork around the tape so you can see what you’re working with.
Warning: this part may take a while. You may have to say a prayer and walk away a few times until you are satisfied with the layout of your artwork. Take pictures to look back at and reference. Trust us, these will come in handy!
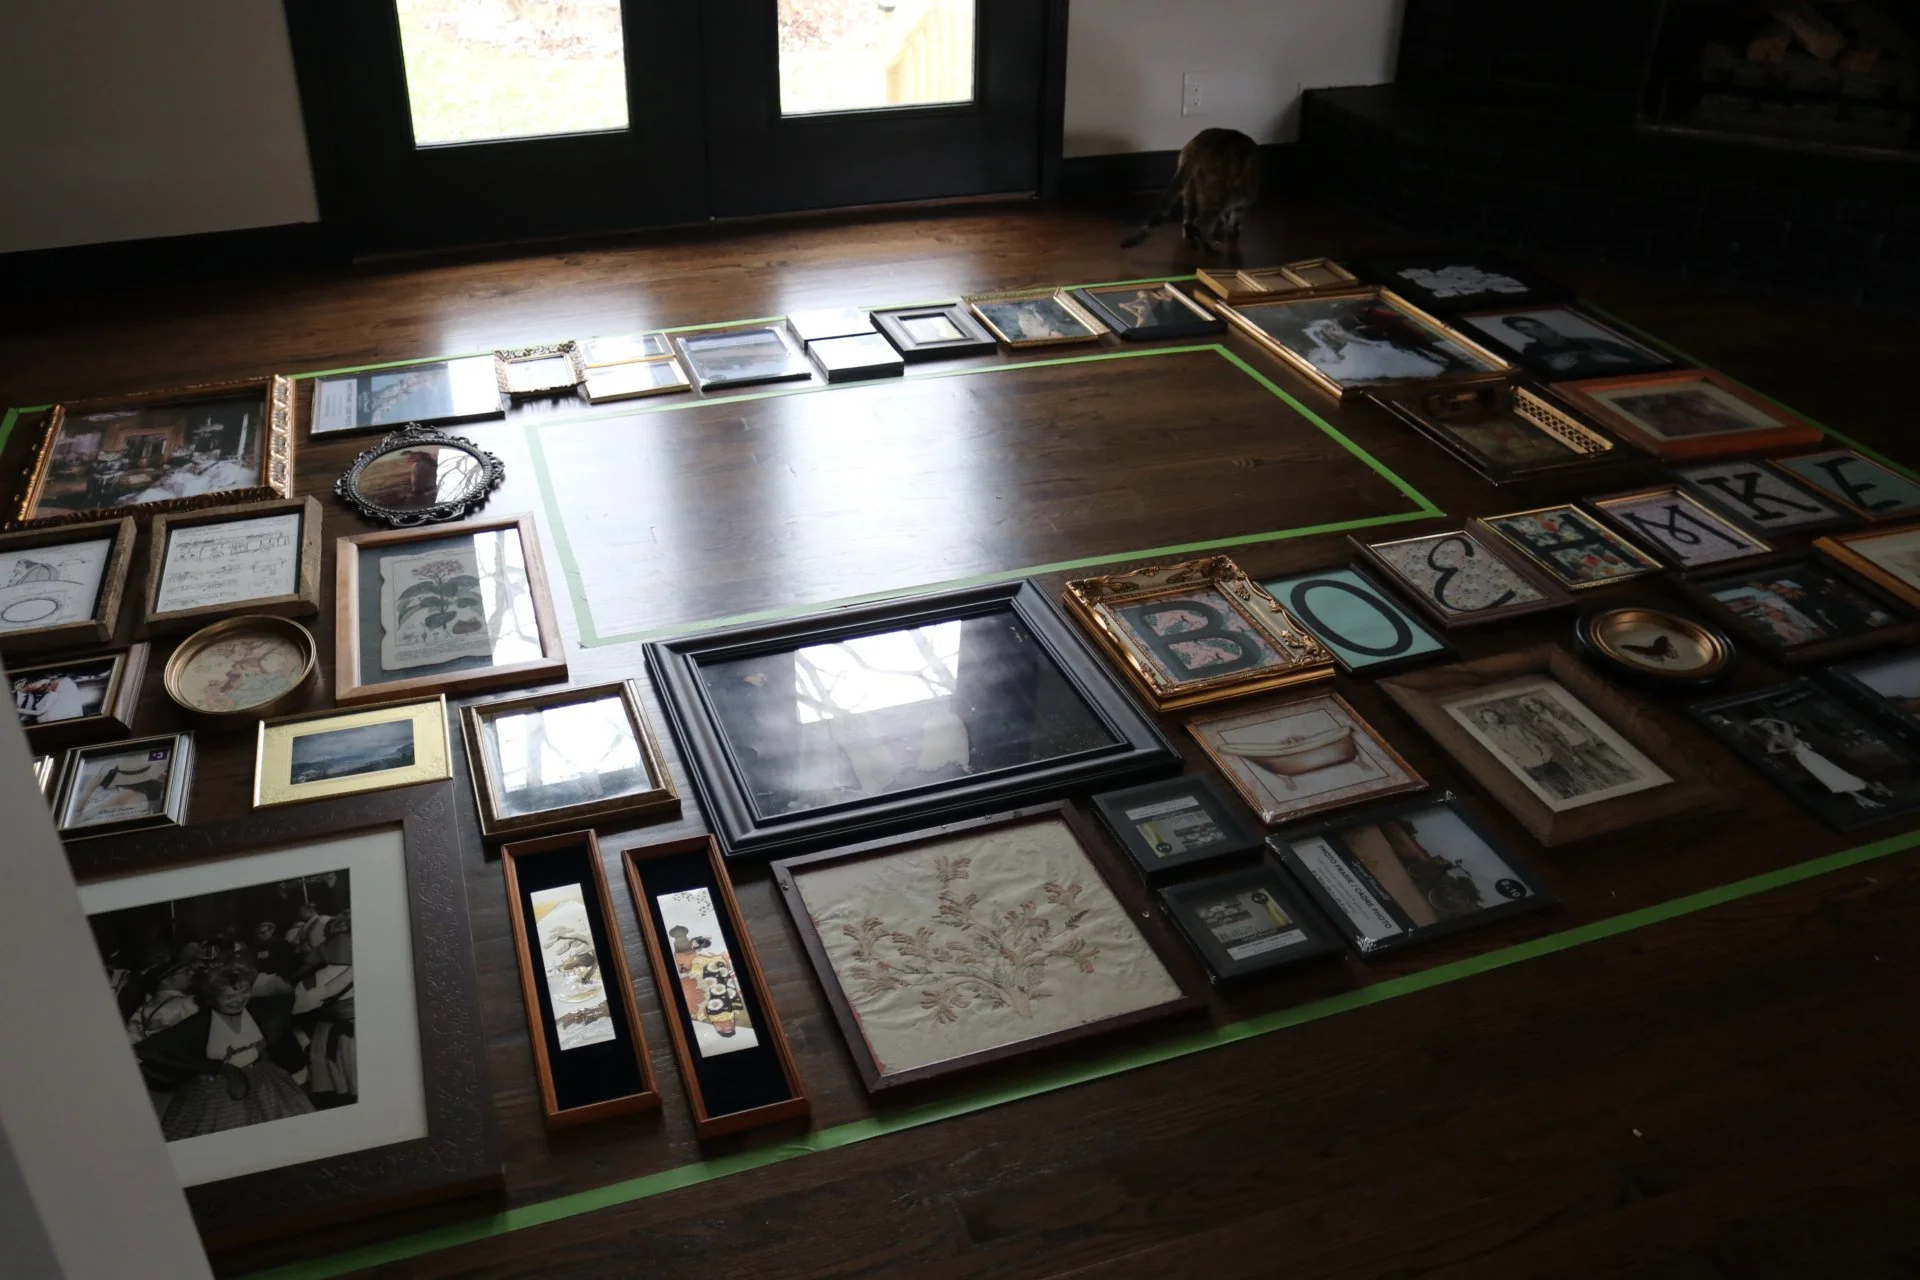
Once you are satisfied with the placement of your artwork, it’s time to measure. We suggest you start in one corner and work your way across. Pro tip: use a pencil for your measurements! Good chance you’ll need it. Grab your notepad and start measuring the distance between your artwork on all sides. This way, when you are putting the art on the wall, you’ll know exactly how far it should be spaced from the other artwork. Make sure you’re getting the measurements on all sides for each piece.
We use Command Velcro tabs in the medium and large sizes for our gallery walls and they have worked like a dream. This allows room for error and you can pull the frames down for dusting cleaning. We also love that the artwork doesn’t move with the Velcro tabs, so you aren’t constantly straightening photos. Also, if you are doing a large gallery wall like ours, keep an eye on your local Goodwill and thrift stores for frames. A majority of our frames are thrifted. Then in the final hour when we needed a couple of extra frames to fill in some small spaces, we went to the Dollar Store to snag the last few little frames.
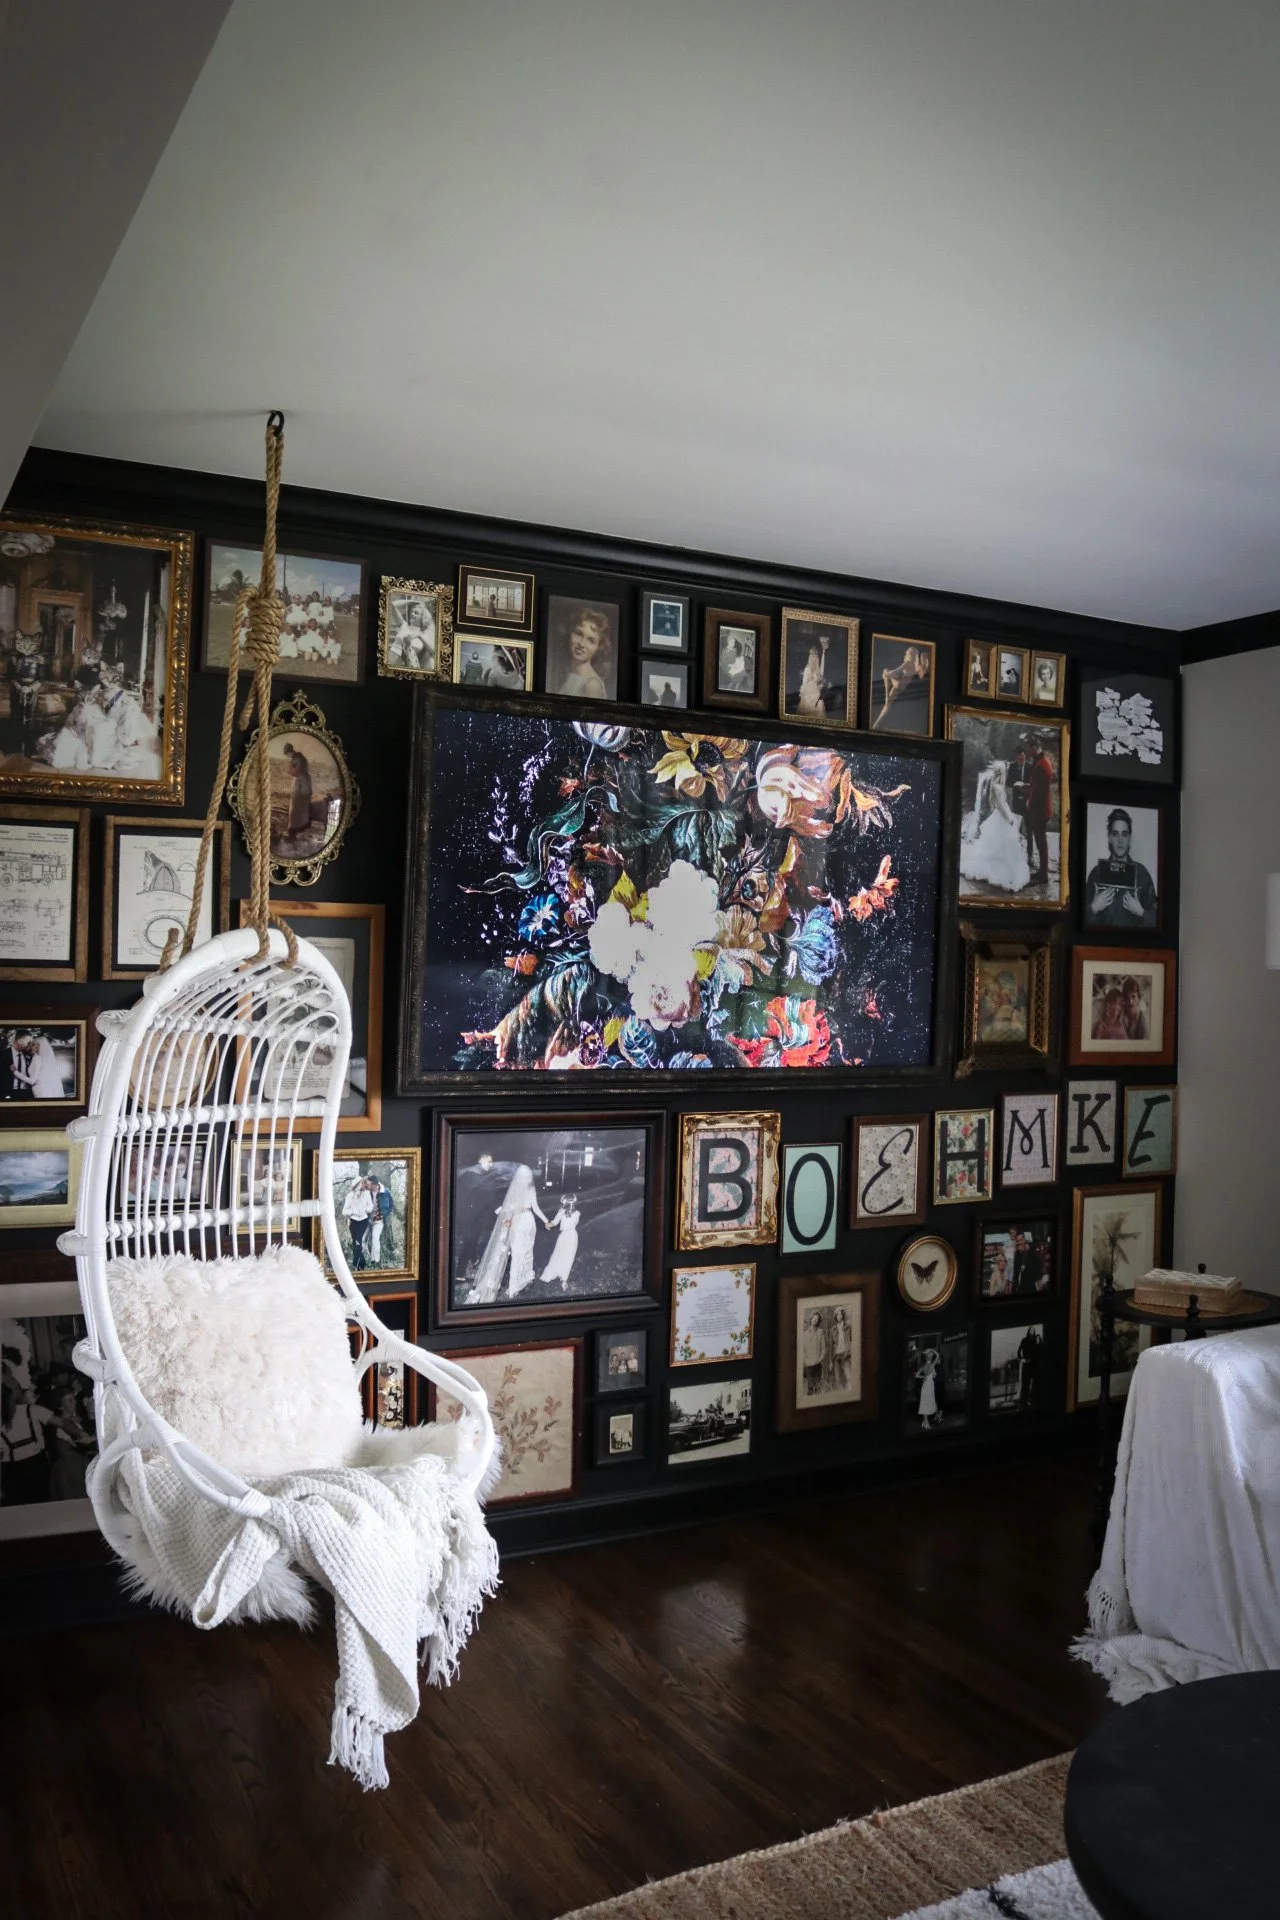
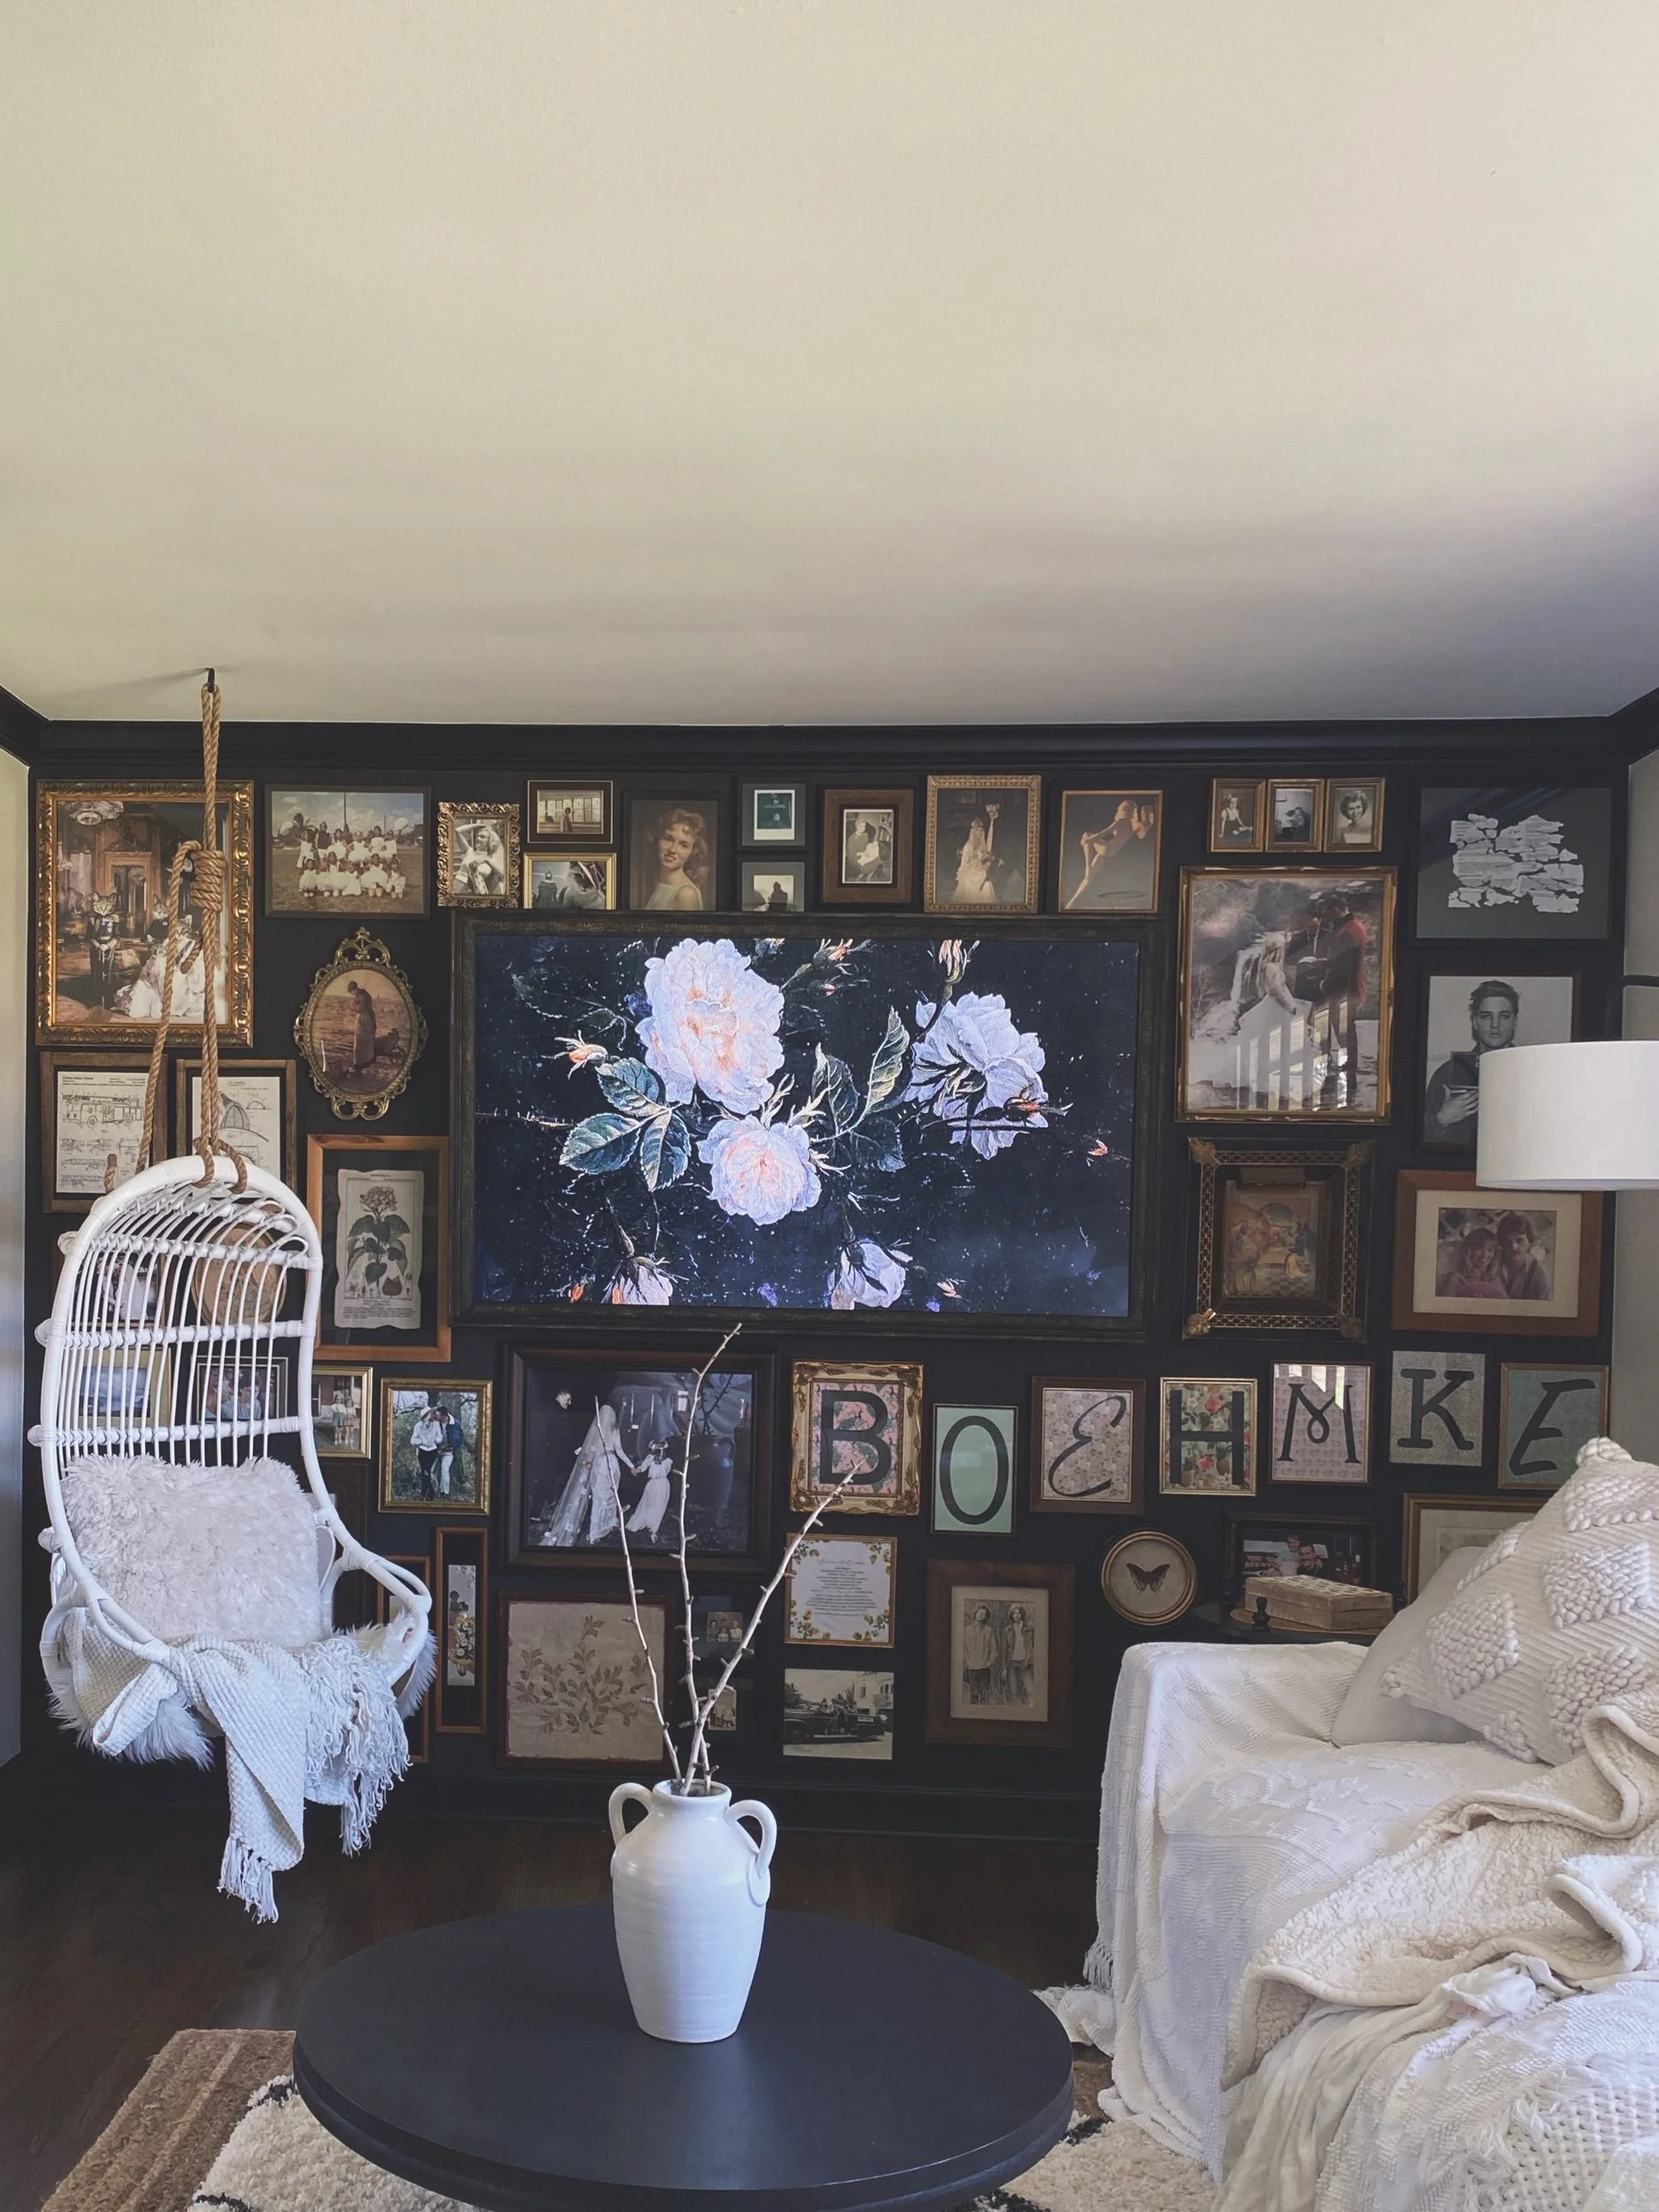
Gallery walls are such a fun way to add character to a space. As you can see for us, it’s also a great way to disguise your tv as well.
They may seem intimidating to pull off, but when you break it down, it’s pretty simple. We hope you find this helpful. Let us know if you add your own gallery wall to your space. We would love to see it!